In the world of low-carb and gluten-free diets, finding a satisfying replacement for traditional bread can be a challenge. But don’t worry; cloud bread has emerged as a divine solution. This light and airy bread, aptly named for its ethereal texture, has taken social media by storm, especially among keto enthusiasts. In this blog post, we’ll explore what cloud bread is, why it’s gained popularity, and how to make it at home.


What is Cloud Bread?

Cloud bread is a versatile and gluten-free bread substitute made with only a few simple ingredients: eggs, cream cheese or banana or Greek yogurt, and a leavening agent such as cream of tartar or baking powder. It’s the magic of these ingredients that gives cloud bread its unique texture, which is reminiscent of fluffy clouds. What’s the best part? It’s low in carbs, making it a favorite choice for those following the ketogenic diet.


Why is Cloud Bread So Popular?

Cloud bread has grown in popularity for a variety of reasons:
Low-Carb and Keto-Friendly: Because of its low carbohydrate content, cloud bread is ideal for low-carb and ketogenic diets, where carbohydrate intake is limited.
Gluten-Free: Cloud bread is a great option for those with gluten sensitivities or celiac disease, as it contains no wheat or gluten.
Customizable: You can customize cloud bread to suit your taste. Make it sweet with sweeteners or go savory by adding herbs, spices, or shredded cheese.
Versatile: Cloud bread can be used in various ways – as a sandwich base, burger bun, pizza crust, or even as a snack with your favorite toppings.


Include Cloud Bread in your next party menu

Are you planning a special event or celebration? Consider using cloud bread as a unique and healthy addition to your party menu. Pair it with a variety of toppings, from savory to sweet, to cater to your guests’ preferences. To take your party creations to the next level, visit our e-shop diypartycreations.com for a wide range of printable DIY party templates. You’ll find everything you need to create stunning invitations, decorations, and more for your upcoming event.


How to Make Cloud Bread: A Simple Recipe

Bakes: 18 big sized cookie cloud breads
Preparation time: 15 min
Baking time: about 10 min 

Ingredients

• 3 large eggs, separated
• 3 tablespoons (150 gr) cream cheese or Greek yogurt or 1 ripe banana
• 1/2 teaspoon cream of tartar (or baking powder)

Optional:
Sweetener or flavorings of your choice for sweet or savory versions.


Procedure

1. Preheat your oven to 150°C (300°F) and line a baking sheet with parchment paper.
2. Separate the egg whites and yolks into two bowls.
3. In the bowl with egg yolks, add the cream cheese or Greek yogurt and any optional sweeteners or flavorings. Mix until well combined, about 3-4 min.
4. In the bowl with egg whites, add the cream of tartar or baking powder.
5. Beat the egg whites until stiff peaks form, about 4-5 min.
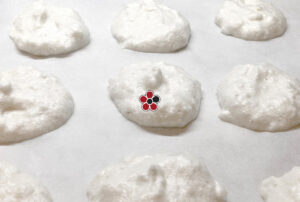
6. Gently fold the egg yolk mixture into the beaten egg whites until fully combined, being careful not to deflate the egg whites.
7. Spoon the mixture onto the parchment paper-lined baking sheet, forming small rounds or bread-like shapes.
8. Bake for about 10 minutes or until the cloud bread is golden brown and set.

Allow the cloud bread to cool before using it for sandwiches or snacks.

Tips

• Eat them plain or sprinkle with powdered sugar or add some maple syrup. Consider these cloud breads as a pancake alternative.
• Use them as bread for your favorite sandwich.
• When using cream cheese or Greek yogurt, you can add seasonings of your choice to your mixture, such as dried herbs, salt, pepper or garlic powder.

Finally, for those looking for a delicious, low-carb, gluten-free alternative to regular bread, cloud bread is a game-changer.

It’s fluffy texture and versatility make it a fantastic addition to any diet, whether you’re keto, gluten-sensitive, or simply looking to reduce your carb intake. Give this heavenly bread a try and let your taste buds soar through the clouds of flavor and satisfaction.

Happy baking, and enjoy your cloud bread creations!

Enjoy sharing the magic of cloud bread with your friends!
You can also follow me on
https://www.pinterest.it/DoItYourselfPartyCreations/_saved/

(0)

I’m always trying to find an excuse to bake cookies and eat them of course! Oatmeal cookies are healthier than any ordinary cookies, they are rich in iron and fibers. When chocolate and nuts are added, you have even more benefits, providing heathy fats and antioxidants to your diet. 

I just found another reason to make oatmeal chocolate chip cookies! National Oatmeal Cookie Day is on April 30, get ready to celebrate! This day has been celebrated in the United States since the late 1800s. Why not spread the word?

There’s even more! Oatmeal chocolate chip cookies are perfect to prepare ahead of time because they maintain their texture for at least 3 days in an airtight container. They can be made for children’s and tea parties and presented on trays, cake stands or in glass jars. They can also be made for school treats or as party favors! DIY party creations has a great variety of templates for decorating your party and presenting, labeling or packaging your cookies. 

They keep their texture for at least 3 days in an airtight container which makes them ideal to make ahead.

These healthy and delicious cookies will just make your day. Words can’t describe how good they are! Just try them and let me know…


Let’s start baking!

Bakes:12 large cookies
Preparation time: 30 min
Waiting time: min 2 hours, max 2 days
Baking time: total 11-22 min

Ingredients

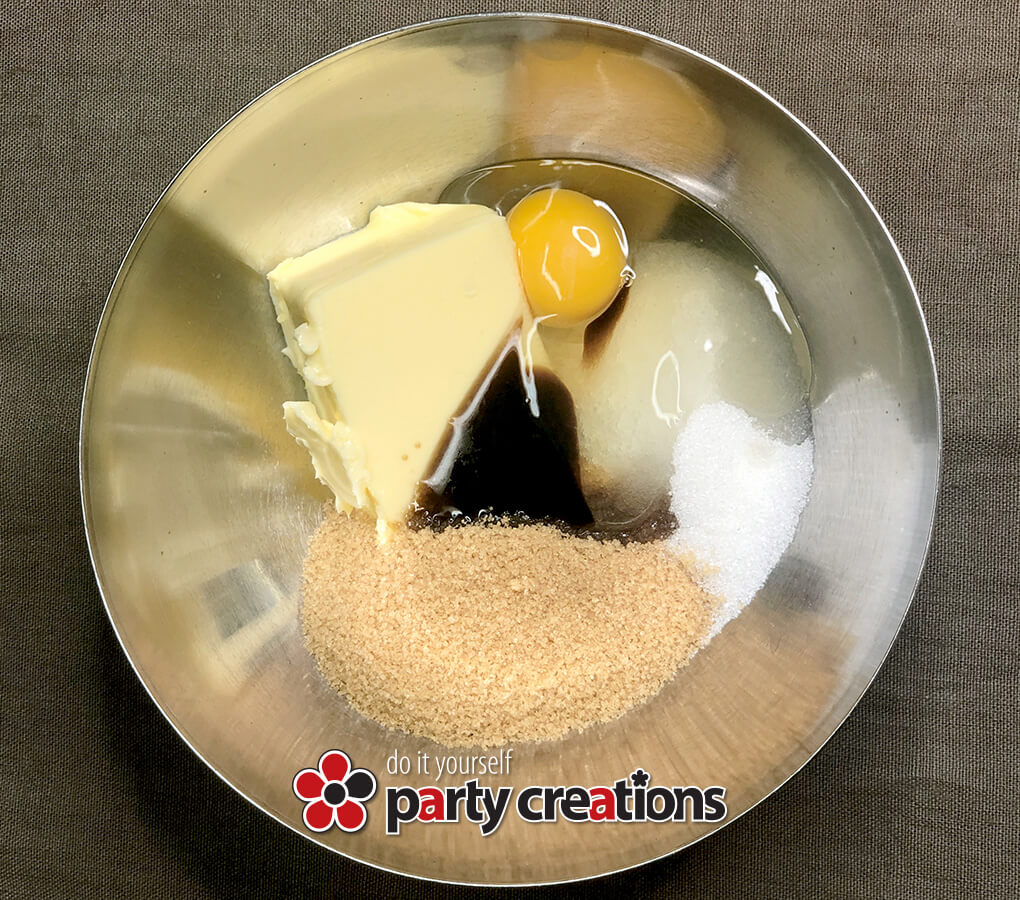
  • 1 large egg (room temperature)
  • 115 gr unsalted butter (room temperature)
  • 110 gr light brown sugar
  • 50 gr granulated sugar
  • 1 teaspoon vanilla extract
  • 125 gr oat flakes¹
  • 95 gr all purpose flour
  • 1½ teaspoon cinnamon powder
  • ½ teaspoon baking soda
  • a pinch of salt (optional)
  • 170 gr semi sweet or dark chocolate chips²
  • 55 gr walnuts (or raisins, or any other nuts you like)

Procedure

  1. In a large mixing bowl, combine the egg, butter, both sugars and vanilla extract and whisk until you have a smooth creamy mixture.
  2. Add the oats, flour, cinnamon powder, soda, salt and beat in low speed until all ingredients are thoroughly combined.
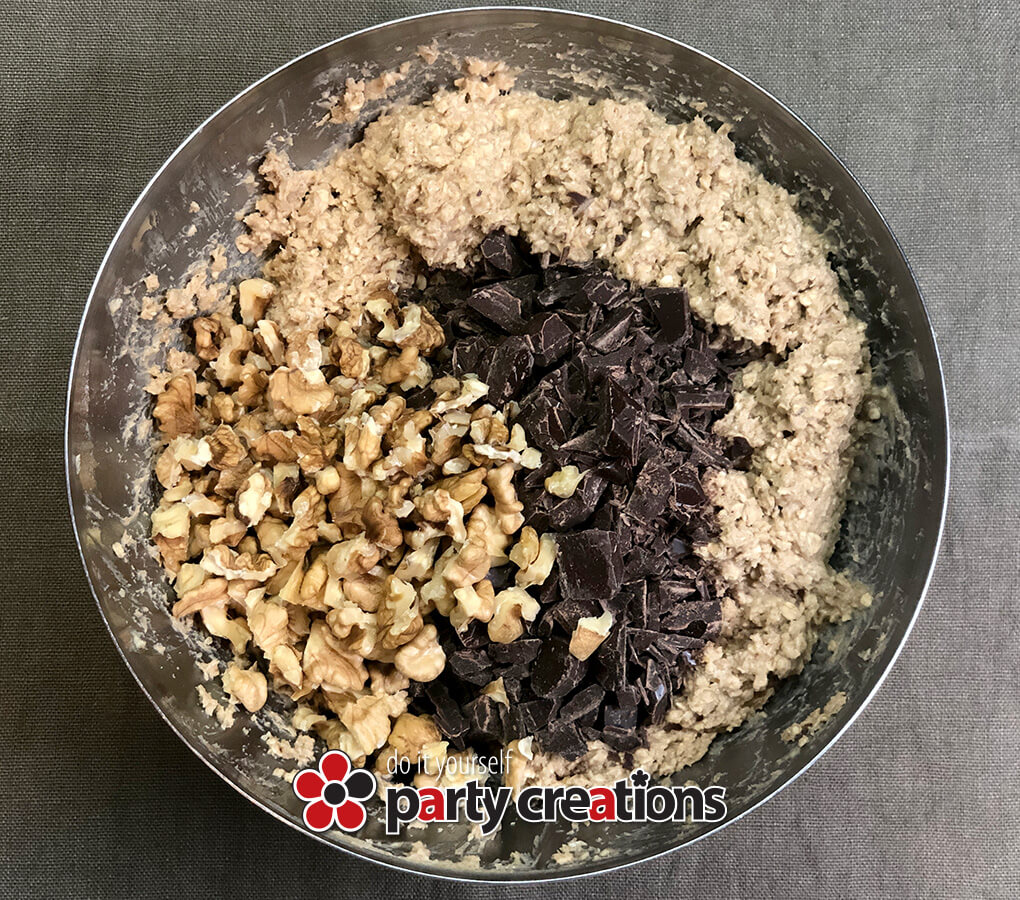
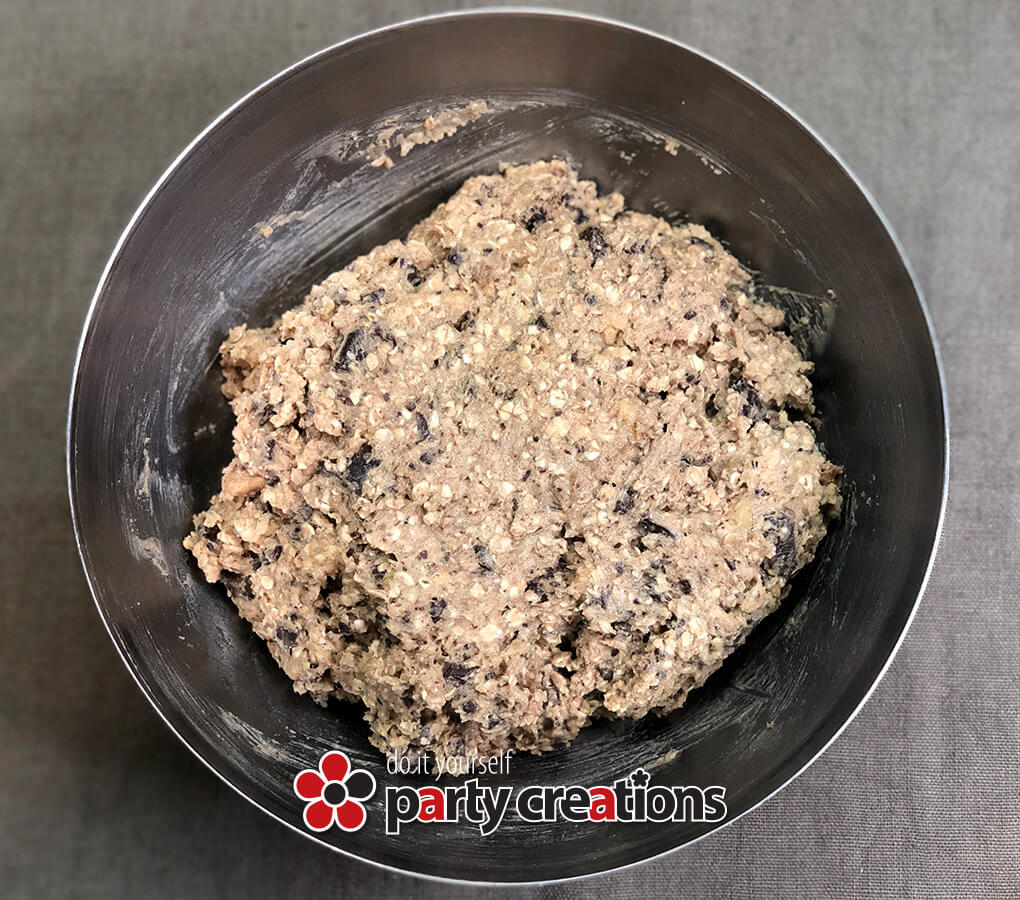
  3. Add the nuts and chocolate chips and gently stir to incorporate.
  4. Divide the dough into 12 equal pieces, each weighing around 65 grams.
  5. Refrigerate the dough balls for at least two hours in an airtight container. They last for up to two days in the refrigerator.
  6. Preheat the oven to 180ºC (356ºF).
  7. Arrange the dough balls on your baking trays on nonstick baking sheets, spacing them out by approximately 5 cm. You can give them a little squeeze, if they are not too tough.
  8. For soft cookies, bake for 11 minutes, depending on your oven. If you want your cookies to be a bit crunchy, bake them a little bit longer until the edges start to turn golden brown .
  9. Take them out of the oven and set them aside to cool entirely, which should take approximately 10 minutes. As they cool, they get harder.
  10. Store in an airtight container for a week or in freezer-safe airtight food bags for six months.
     

¹ Quick oats are not recommended because they tend to absorb liquids very quickly and you may end up with dry cookies. Additionally, the cookies won’t have as much texture.

² I prefer to break up high-quality couverture chocolate bars into little pieces rather than using chocolate chips. Gives me the option of larger chocolate chips and a more chocolatey flavor.

Source:
https://nationaltoday.com/national-oatmeal-cookie-day/

If you liked this recipe, please share.
You can also follow me on

https://www.pinterest.it/DoItYourselfPartyCreations/_saved/

(0)

Our modern carrot cake recipes, according to food historians, is thought to have its roots in the European Medieval period and was known as “carrot pudding”. At that time, sugar was expensive and many people used carrots as a natural sweetener. Although carrot cake recipes can be found in French, German, and Swiss cookbooks, the origin of carrot cake is thought to be in England.

Throughout history many similar recipes appear, mostly as desserts. Carrot pudding, carrot cake, carrot pancakes, carrot cake cookie, carrot bread, carrot cake porridge, carrot mugcake are some alternative names and presentations for similar recipes.

Carrot cake became popular in the United States in the 1960s. Since then, it has evolved into a classic American cake topped with cream cheese frosting. Perhaps this is how it came to be known as the most famous Classic American cake in the world. 

There must be hundreds of carrot cake recipes available in cookbooks and on the internet; it’s difficult to choose which one to make. I’ve been making this recipe for years and it never disappoints! It’s delicious and simple to make, and I’ve used it to make birthday cakes, tea parties and school snacks. You can find decoration or packaging ideas at DIYpartycreations.com.

Carrot Cake recipe

Ingredients
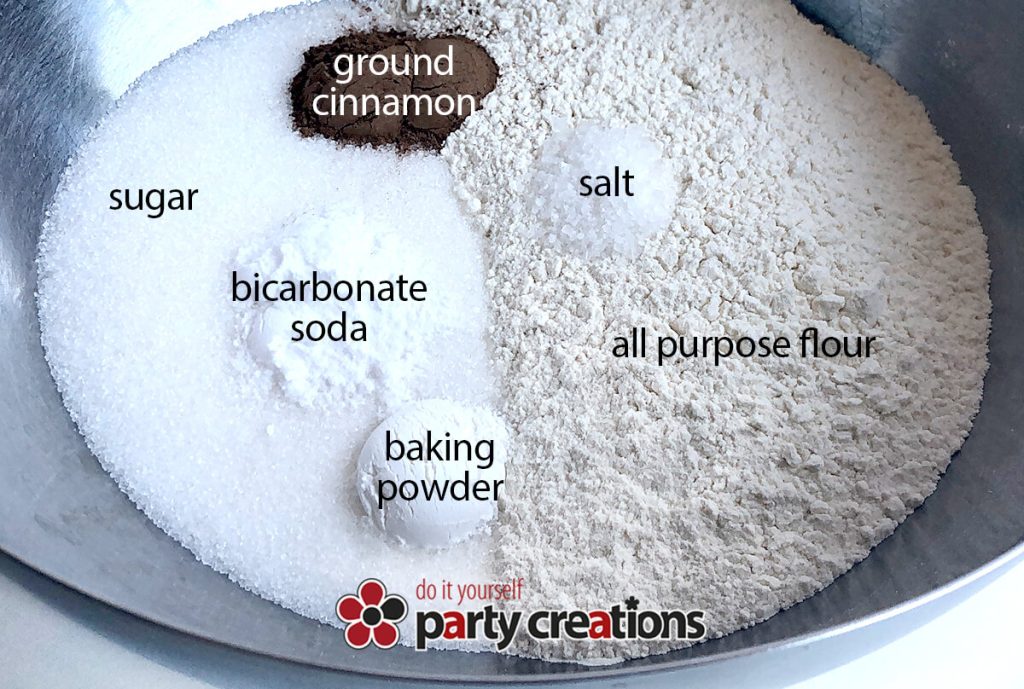
• 330 gr all purpose flour
• 465 gr sugar
• 1 tsp baking powder
• 1 tsp bicarbonate soda
• 1 tsp salt
• 2 tsp ground cinnamon
• 370 gr fine grated carrots (approx. 7 carrots)
• 200 gr vegetable oil
• 4 eggs
• 2 tsp vanilla extract

Let’s get started!
1. Prepare the baking pan(s) or the cupcake cups.
2. Preheat oven at 160ºC (325ºF).
3. In a big mixing bowl, mix together the first 6 ingredients (flour, sugar, baking powder, soda, salt and cinnamon).
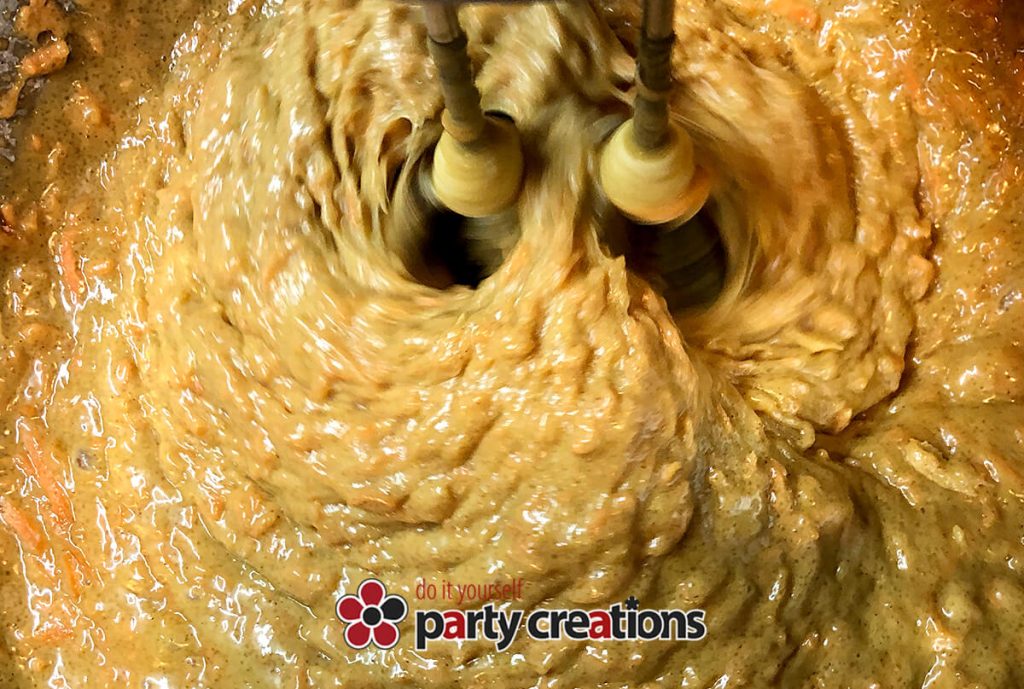
4. Add the remaining 4 ingredients (carrots, vegetable oil, eggs and vanilla extract) and beat in medium-high speed until combined.
5. Keep beating for 2 more minutes in medium speed.
6. Turn the mixture into your baking pan(s) or cupcake cups.
7. Bake for 50-60 min at a 33×23 cm (13×9 inch) pan or until done. Cupcakes will need around 25 min baking or until done. Makes approx. 22 cupcakes.
8. Cool on a wire rack and remove from pans after cooling for 10 min.

Optional
• Add nuts or raisins
• Zest of an orange
• Add ½ tsp ground nutmeg and 1 tsp mixed spice
• Decorate with cream cheese frosting


Cream Cheese Frosting

Ingredients
Tops two 20-23 cm (8–9-inch) cakes with a thin icing layer. Double this portion if you with wish for a rich icing!

85 gr Cream Cheese (room temperature)
60 gr butter (room temperature)
1 tsp vanilla
220 gr sifted powdered sugar

Instructions
1. In a mixing bowl, beat together the cream cheese, butter and vanilla extract until fluffy.
2. Gradually add powdered sugar, while beating until smooth.
3. Spread the icing over the cooled cake or cupcakes.
4. Store in the refrigerator.
5. Before serving the cake, sprinkle chopped nuts or pour butterscotch caramel sauce over the icing, if desired.

Decorate your cupcakes with festive cupcake wrappers and decorations and enjoy.

Sources
http://www.carrotmuseum.co.uk/carrotcake.html
https://en.wikipedia.org/wiki/Carrot_cake

If you liked this recipe, please share. You can follow me on

https://www.pinterest.it/DoItYourselfPartyCreations/_saved/

(0)

I’ve been making brownies since I was 10 years old and have tried many delicious brownie recipes from cookbooks, friends and the internet, which I’ve shared with family and friends. All of them were tasty, but not quite what I preferred, so I began experimenting and came up with this soft and delicious brownie recipe! 

It came as a surprise to find out that the United States celebrates National Brownie Day on December 8th. Brownies are the ultimate versatile “sweet,” and yes, they deserve to be celebrated! This sweet is neither a cake nor a cookie; it can be eaten as a snack or a dessert, and it can be served hot or cold.

Homemade chocolate brownies are my favorite classroom party treats, as well as a great choice for home tea/coffee parties, an office snack, or any other occasion. Kids adore them, and moms frequently ask for this simple and tasty recipe.

For classroom parties treats, I make the brownies, then cut them into squares with a sharp knife and place them in small transparent plastic food bags or small paper food bags 8,3X19,8 cm. Then seal them with a “thank you tag” or “gift tag” labels from DIYpartycreations.com, some yarn or ribbon, all of which I always have on hand … and the treats are ready for the kids at school!

Serving at home, I’ll cut large square pieces of brownies and place them in a serving tray or if served as a dessert the will go with a scoop of vanilla ice cream in the summer and whipped cream & berries in the winter. Brownies are best served warm or at room temperature. I occasionally heat them in the microwave for 20-30 seconds.

For a tea buffet, I’ll serve smaller pieces in a serving tray and use “Buffet Tags” from DIYpartycreations.com to label all foods and drinks.

What’s great about this recipe is that you don’t have to do anything ahead of time other than make sure you have all of the ingredients. That is, eggs and butter do not need to be at room temperature.

So let’s get started!

Preparation: 15 minutes
Total Baking Time: 20 minutes

Ingredients

• 4 eggs
• 350 gr brown sugar
• 350 gr unsalted butter
• 80 gr cocoa powder
• 100 gr all-purpose flour

Optionally
• 1 teaspoon vanilla extract
• 1 teaspoon instant coffee (improves the aroma of the cocoa, but do not include this ingredient if you are serving children)
• 170 gr chopped nuts (prefer walnuts)

For less sweetness in taste, I usually add all the optional ingredients.


Putting everything together

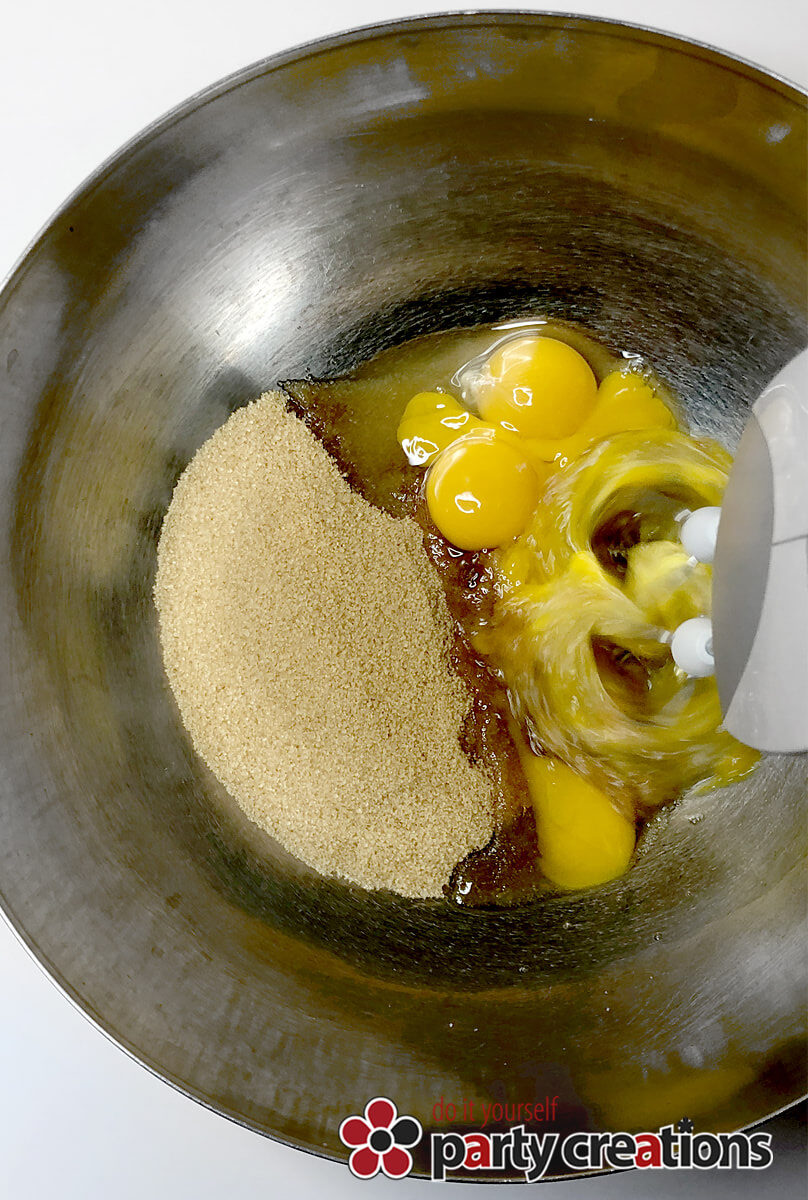
1. In a large mixing bowl, beat the eggs and sugar with an electric mixer on high speed until the mixture is smooth, creamy, and light yellow (4-5 minutes). This raises the brownies and makes them fluffier. If you don’t have an electric mixer, you can achieve the same result by wishing for approximately 8 minutes.

2. Melt the butter in a saucepan, then stir in the chocolate powder. 

3. Preheat the oven to 160°C (320ºF). 

4. Combine together the two mixtures into the mixing bowl. 

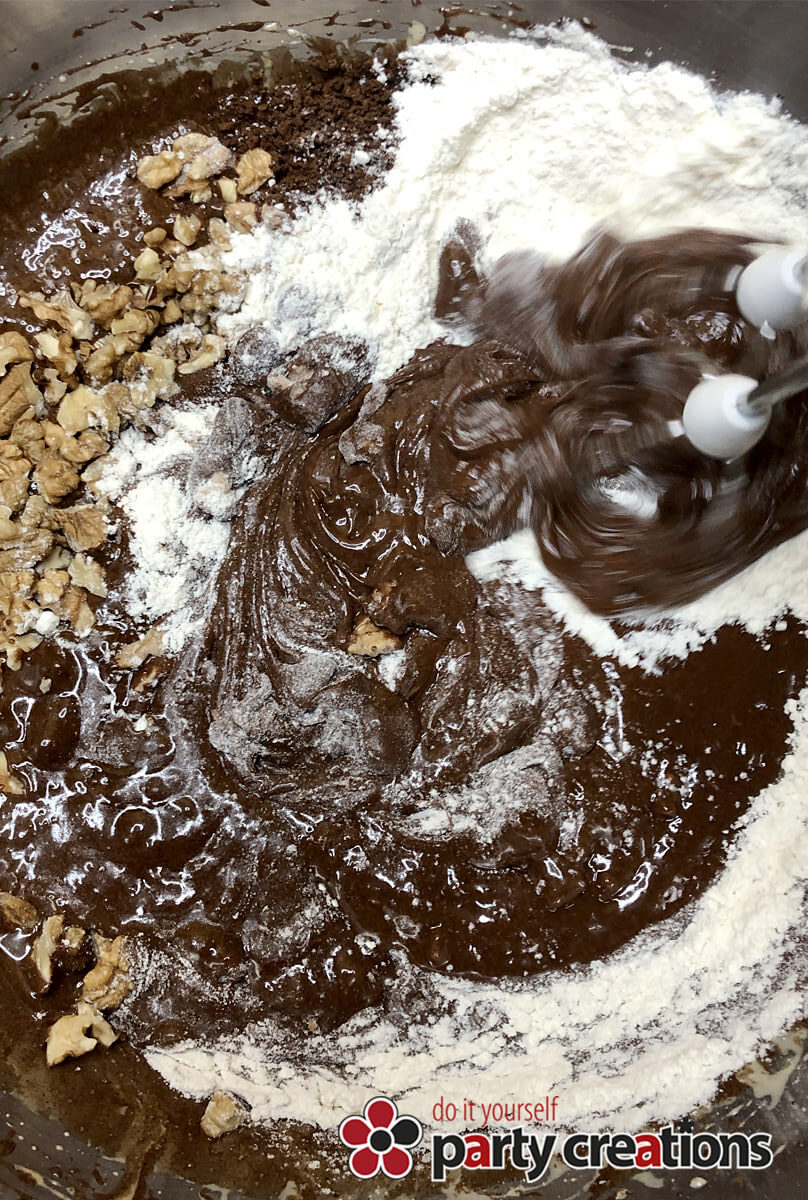
5. Mix flour and optional ingredients until the are fully incorporated.

6. In a 22×33 cm pan, place parchment paper and pour in the mixture.

7. Bake for approximately 20 minutes. Insert a toothpick or a knife into the center of the tray; It should come out clean of crumbs or dough. 

8. Remove from the pan and cool on a wire rack. 

9. Cut into square pieces with a very sharp knife.

Enjoy!


Alternatives
• For a rich chocolate flavor, replace the nuts with chocolate chips or combine the two.
• Use dried fruit instead of nuts.
• Before baking, sprinkle with desired toppings (for example, sprinkles, mini marshmallows, shredded coconut or sprinkle flakes of sea salt).
• Orange, strawberry, or mint extract can be used in instead of vanilla extract.

Storage
Store in an air tight container for 3-4 days at room temperature or for 3 months in the freezer.

Serving
• Serve with vanilla ice cream or a glass of milk or whipped cream and berries.
• A layer of frosting can be appreciated (for example, vanilla, cheese, buttercream, coffee, chocolate) or hot fudge sauce!


You can follow me on

https://www.pinterest.it/DoItYourselfPartyCreations/_saved/

(0)

Preparation: 30 minutes
Total Baking Time: 30 minutes
Amount: about 40 cookies

A crunchy cookie recipe, with a wonderful butter-cinnamon taste, easy to make. Good choice to to accompany your coffee, tea or a children’s party. I originally cooked them for a small gathering and they were a big hit. On an other occasion I also made them for school gifts. They didn’t make it to the second break! For each occasion, I created a completely different, simple gift packaging with the help of the Crown Thank you Tag and the Paisley Pattern Gift Tags as well as a small transparent plastic food bags 8,3X19,8 cm. More name tags and thank you tags can be found at DIYpartycreations.com in a variety of themes.

Make these cookies with your kids; they’re quite easy to make. They can use a hand whisker instead of the electric mixer if they don’t like the noise. Try the colored sugar as well, kids enjoy shaking the jar and watching the sugar change color. It is great fun!

Ingredients

200 gr all-purpose flour
120 gr unsalted butter, room temperature
70 gr sugar
90 gr brown sugar
1 large egg
1 teaspoon baking powder
2 teaspoons cinnamon powder
1 pinch of salt
1 teaspoon vanilla extract

Optionally
Brown or colored sugar can be used to decorate, if desired.

Putting it all together

1. Combine the butter, both sugars, and egg in a large mixing bowl and lightly whisk to combine. 

2. Stir in the baking powder, cinnamon, salt, and vanilla extract. 

3. Add all of the flour at once or gradually, as desired, and mix until completely absorbed. 

4. Cover your baking tray with parchment paper, shape the dough into balls, and set them on the baking sheet at a distance since they spread. If the dough sticks to our hands, wet them slightly and form balls.

5. Press a little and, if you like, sprinkle with brown or colored sugar. If you put too much sugar, the cookies may become very sweet!

6. Bake at 180°C, for 10-15 minutes, depending on the size, or until slightly browned.

Keep them in an air tight container for about 4-5 days (they could stay longer, but that’s how long we had them) or freeze them for a few months, although they may loose their crunchiness, but not their flavor!

Make a lovely decoration to go with your cookies when they’re served. More options can be found at DIYpartycreations.com with a variety of templates and themes.


Make Your Own Colored Sugar

You will need:
Granulated sugar, white or brown (white sugar will give vibrant color)
Any food coloring
An empty and well cleaned small jar, one for each color you want to make

Make Colored Sugar

1. Fill, not more than 2/3 of your jar, with granulated sugar, white or brown.

2. Add a small amount of any food coloring and shake the jar to mix the color evenly. If necessary, add another color and repeat. 

3. If you used any liquid food coloring, spread the colored sugar on a tray to dry. Put it back in your jar when it’s dry, and you’re done!


I hope you liked and enjoyed this recipe as much as I did.

Please email me photos of the cookies you’ve served!

I can’t wait to see them!

Follow me on

https://www.pinterest.it/DoItYourselfPartyCreations/_saved/

(0)