Cloud Bread: A Heavenly Low-Carb and Gluten-Free Alternative
In the world of low-carb and gluten-free diets, finding a satisfying replacement for traditional bread can be a challenge. But don’t worry; cloud bread has emerged as a divine solution. This light and airy bread, aptly named for its ethereal texture, has taken social media by storm, especially among keto enthusiasts. In this blog post, we’ll explore what cloud bread is, why it’s gained popularity, and how to make it at home.
What is Cloud Bread?
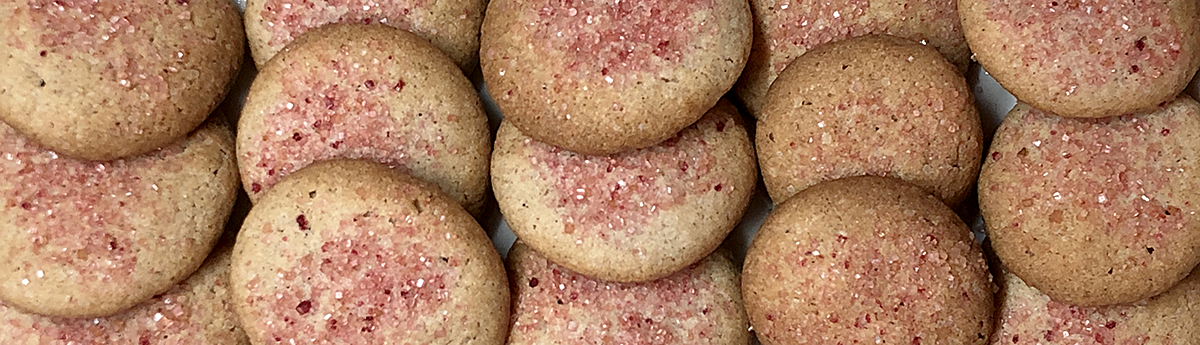
Cloud bread is a versatile and gluten-free bread substitute made with only a few simple ingredients: eggs, cream cheese or banana or Greek yogurt, and a leavening agent such as cream of tartar or baking powder. It’s the magic of these ingredients that gives cloud bread its unique texture, which is reminiscent of fluffy clouds. What’s the best part? It’s low in carbs, making it a favorite choice for those following the ketogenic diet.
Why is Cloud Bread So Popular?
Cloud bread has grown in popularity for a variety of reasons:
Low-Carb and Keto-Friendly: Because of its low carbohydrate content, cloud bread is ideal for low-carb and ketogenic diets, where carbohydrate intake is limited.
Gluten-Free: Cloud bread is a great option for those with gluten sensitivities or celiac disease, as it contains no wheat or gluten.
Customizable: You can customize cloud bread to suit your taste. Make it sweet with sweeteners or go savory by adding herbs, spices, or shredded cheese.
Versatile: Cloud bread can be used in various ways – as a sandwich base, burger bun, pizza crust, or even as a snack with your favorite toppings.
Include Cloud Bread in your next party menu
Are you planning a special event or celebration? Consider using cloud bread as a unique and healthy addition to your party menu. Pair it with a variety of toppings, from savory to sweet, to cater to your guests’ preferences. To take your party creations to the next level, visit our e-shop diypartycreations.com for a wide range of printable DIY party templates. You’ll find everything you need to create stunning invitations, decorations, and more for your upcoming event.
How to Make Cloud Bread: A Simple Recipe
Bakes: 18 big sized cookie cloud breads
Preparation time: 15 min
Baking time: about 10 min
 Ingredients
• 3 large eggs, separated
• 3 tablespoons (150 gr) cream cheese or Greek yogurt or 1 ripe banana
• 1/2 teaspoon cream of tartar (or baking powder)
Optional:
Sweetener or flavorings of your choice for sweet or savory versions.
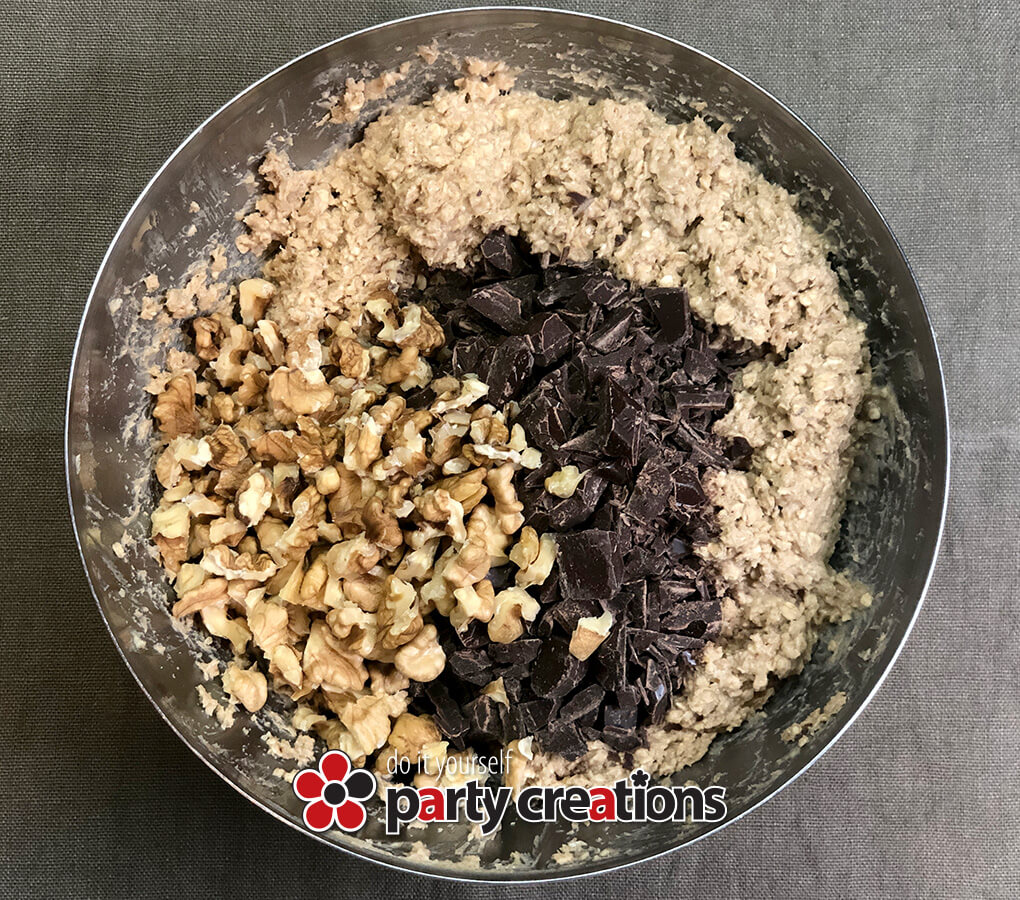
 Procedure
1. Preheat your oven to 150°C (300°F) and line a baking sheet with parchment paper.
2. Separate the egg whites and yolks into two bowls.
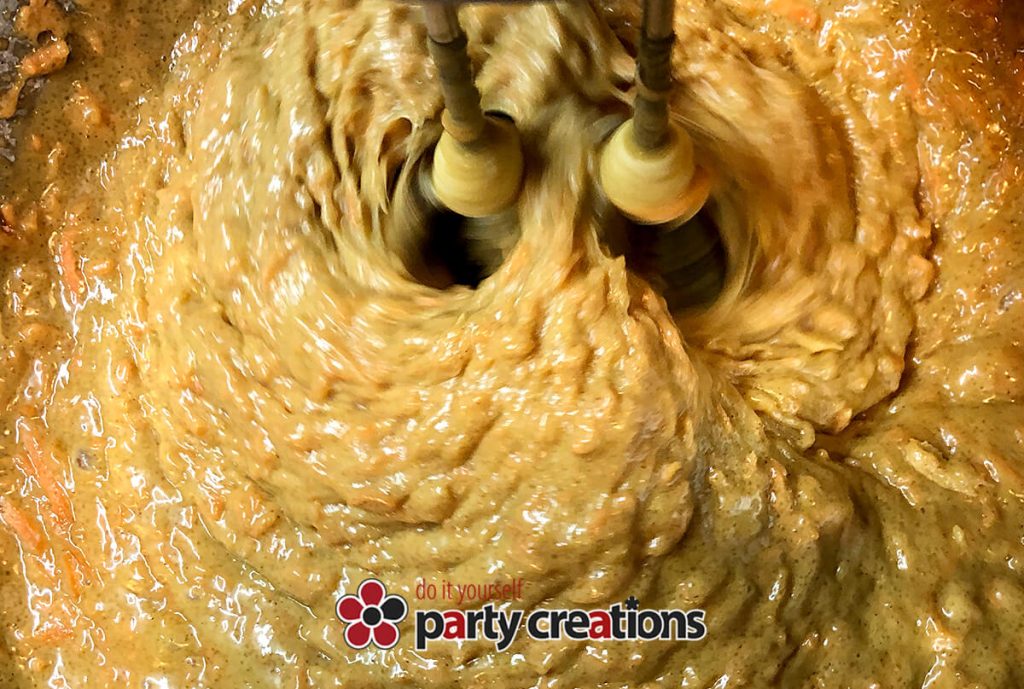
3. In the bowl with egg yolks, add the cream cheese or Greek yogurt and any optional sweeteners or flavorings. Mix until well combined, about 3-4 min.
4. In the bowl with egg whites, add the cream of tartar or baking powder.
5. Beat the egg whites until stiff peaks form, about 4-5 min.
![]() 6. Gently fold the egg yolk mixture into the beaten egg whites until fully combined, being careful not to deflate the egg whites.
6. Gently fold the egg yolk mixture into the beaten egg whites until fully combined, being careful not to deflate the egg whites.
7. Spoon the mixture onto the parchment paper-lined baking sheet, forming small rounds or bread-like shapes.
8. Bake for about 10 minutes or until the cloud bread is golden brown and set.
Allow the cloud bread to cool before using it for sandwiches or snacks.
Tips
• Eat them plain or sprinkle with powdered sugar or add some maple syrup. Consider these cloud breads as a pancake alternative.
• Use them as bread for your favorite sandwich.
• When using cream cheese or Greek yogurt, you can add seasonings of your choice to your mixture, such as dried herbs, salt, pepper or garlic powder.
 Finally, for those looking for a delicious, low-carb, gluten-free alternative to regular bread, cloud bread is a game-changer.
It’s fluffy texture and versatility make it a fantastic addition to any diet, whether you’re keto, gluten-sensitive, or simply looking to reduce your carb intake. Give this heavenly bread a try and let your taste buds soar through the clouds of flavor and satisfaction.
Happy baking, and enjoy your cloud bread creations!
Enjoy sharing the magic of cloud bread with your friends!
You can also follow me on
![]()
![]()
![]()
![]()
 Ingredients
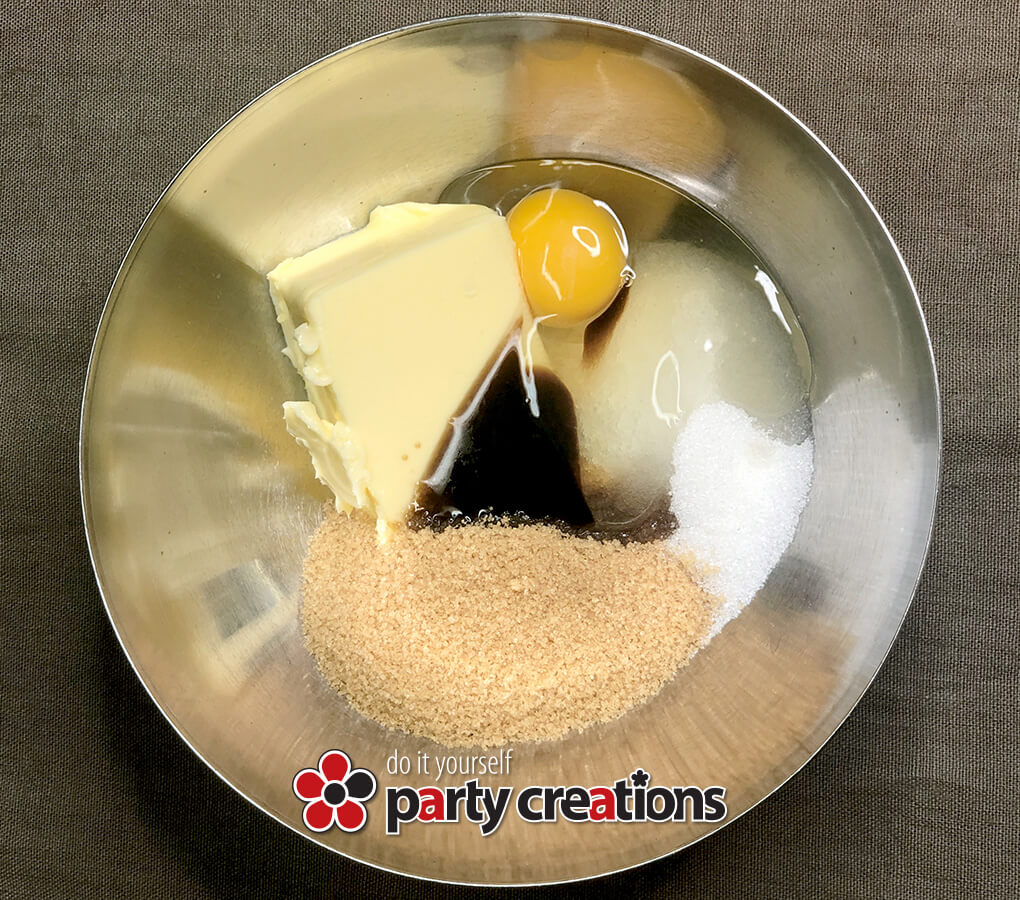

 Procedure

 Let’s get started!
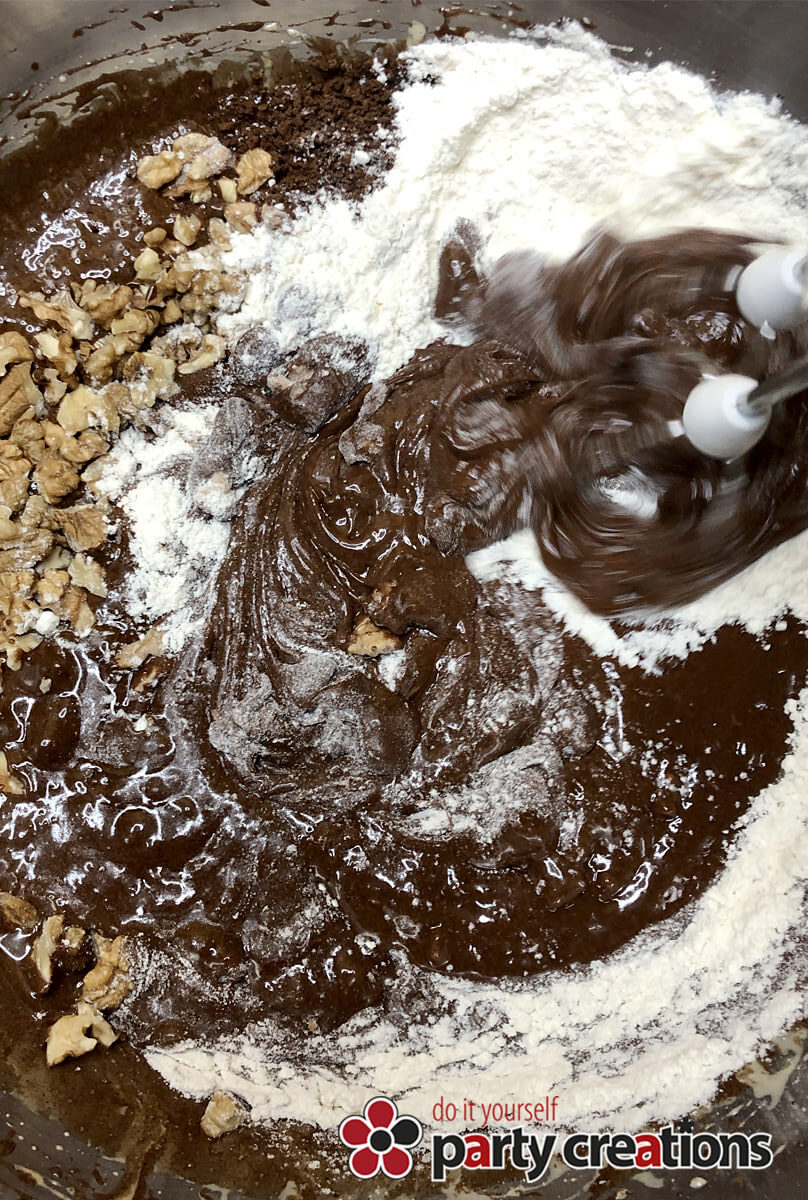
 I’ve been making brownies since I was 10 years old and have tried many delicious brownie recipes from cookbooks, friends and the internet, which I’ve shared with family and friends. All of them were tasty, but not quite what I preferred, so I began experimenting and came up with this soft and delicious brownie recipe!
 For classroom parties treats, I make the brownies, then cut them into squares with a sharp knife and place them in small transparent plastic food bags or small paper food bags 8,3X19,8 cm. Then seal them with a “
 Ingredients
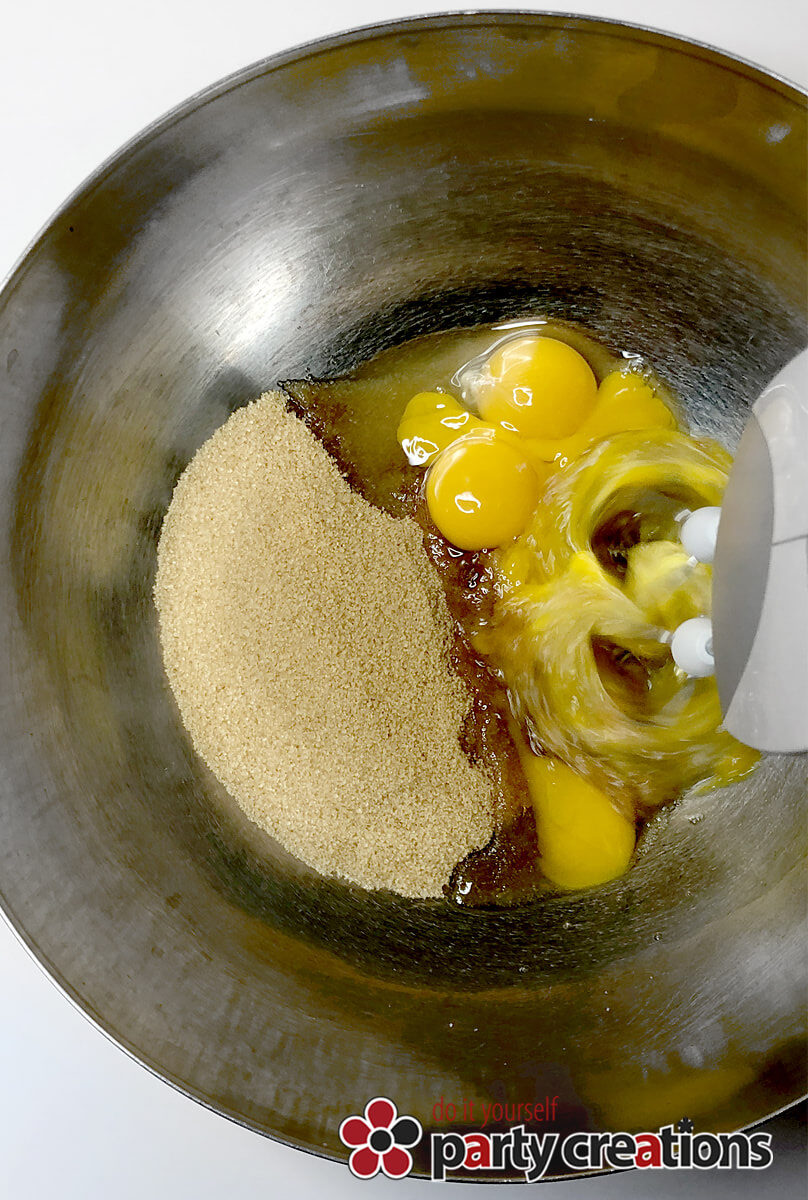


 Ingredients
 Tip before you start
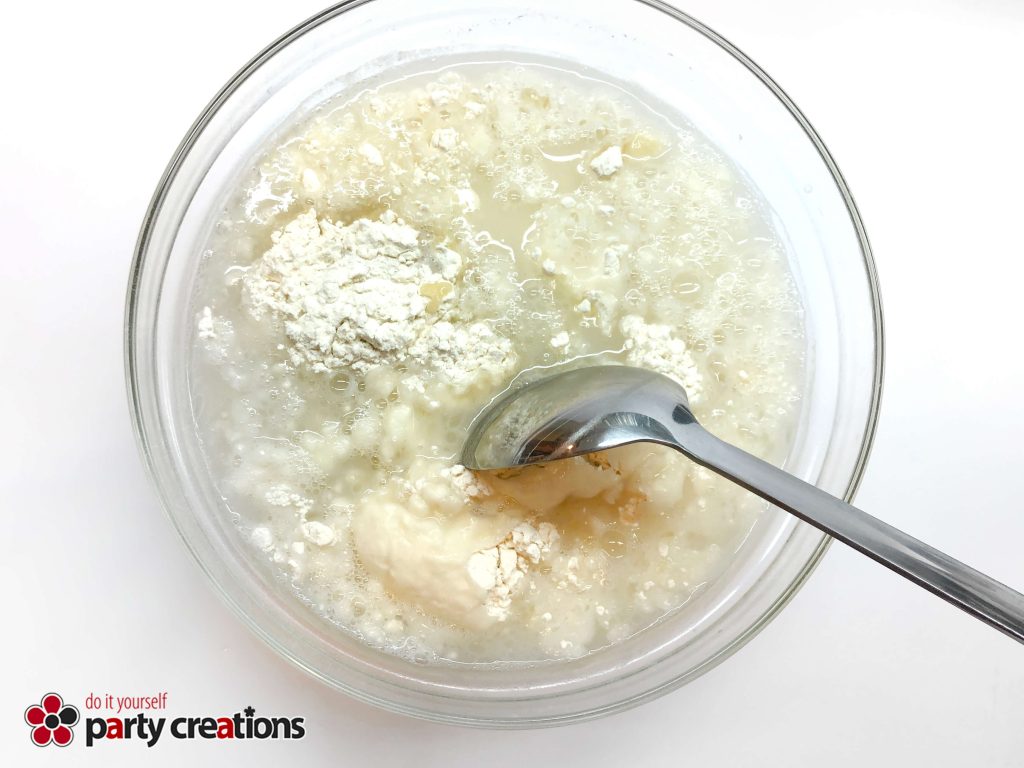


 Evaluating the group of people involved is very helpful in deciding how many hiding places you may need, how well the eggs should be hidden and the size of the hunting area.


 6. Bake at 180°C, for 10-15 minutes, depending on the size, or until slightly browned.