Oatmeal Chocolate Chip Cookies recipe

I’m always trying to find an excuse to bake cookies and eat them of course! Oatmeal cookies are healthier than any ordinary cookies, they are rich in iron and fibers. When chocolate and nuts are added, you have even more benefits, providing heathy fats and antioxidants to your diet.
I just found another reason to make oatmeal chocolate chip cookies! National Oatmeal Cookie Day is on April 30, get ready to celebrate! This day has been celebrated in the United States since the late 1800s. Why not spread the word?
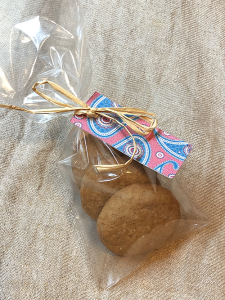
There’s even more! Oatmeal chocolate chip cookies are perfect to prepare ahead of time because they maintain their texture for at least 3 days in an airtight container. They can be made for children’s and tea parties and presented on trays, cake stands or in glass jars. They can also be made for school treats or as party favors! DIY party creations has a great variety of templates for decorating your party and presenting, labeling or packaging your cookies.
They keep their texture for at least 3 days in an airtight container which makes them ideal to make ahead.
These healthy and delicious cookies will just make your day. Words can’t describe how good they are! Just try them and let me know…
Let’s start baking!
Bakes:12 large cookies
Preparation time: 30 min
Waiting time: min 2 hours, max 2 days
Baking time: total 11-22 min
 Ingredients
- 1 large egg (room temperature)
- 115 gr unsalted butter (room temperature)
- 110 gr light brown sugar
- 50 gr granulated sugar
- 1 teaspoon vanilla extract
- 125 gr oat flakes¹
- 95 gr all purpose flour
- 1½ teaspoon cinnamon powder
- ½ teaspoon baking soda
- a pinch of salt (optional)
- 170 gr semi sweet or dark chocolate chips²
- 55 gr walnuts (or raisins, or any other nuts you like)

 Procedure
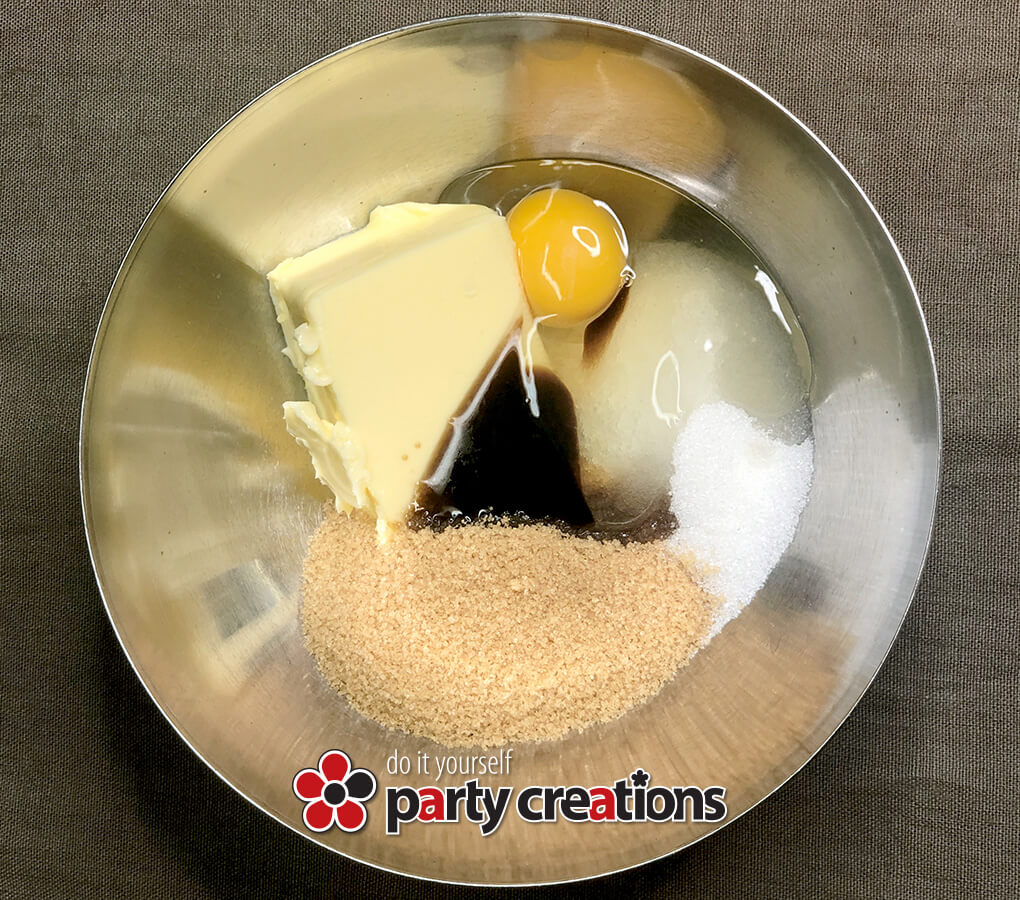
- In a large mixing bowl, combine the egg, butter, both sugars and vanilla extract and whisk until you have a smooth creamy mixture.
- Add the oats, flour, cinnamon powder, soda, salt and beat in low speed until all ingredients are thoroughly combined.
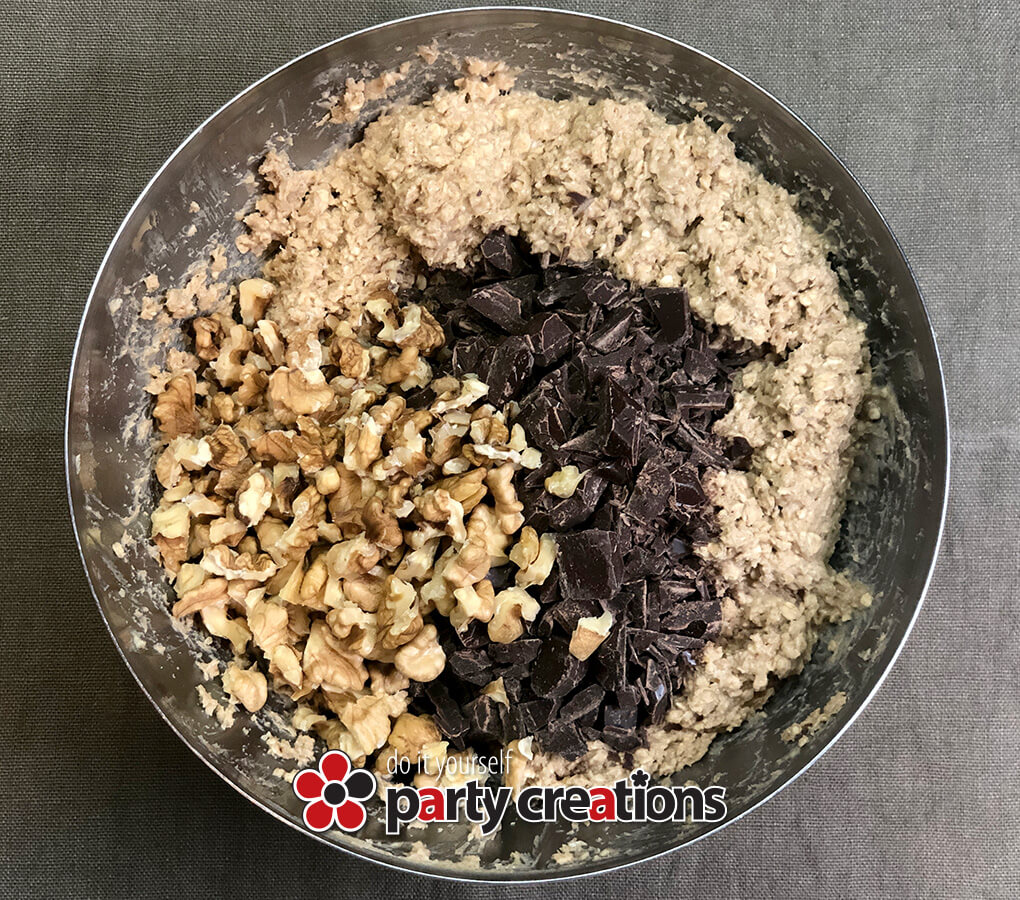
- Add the nuts and chocolate chips and gently stir to incorporate.
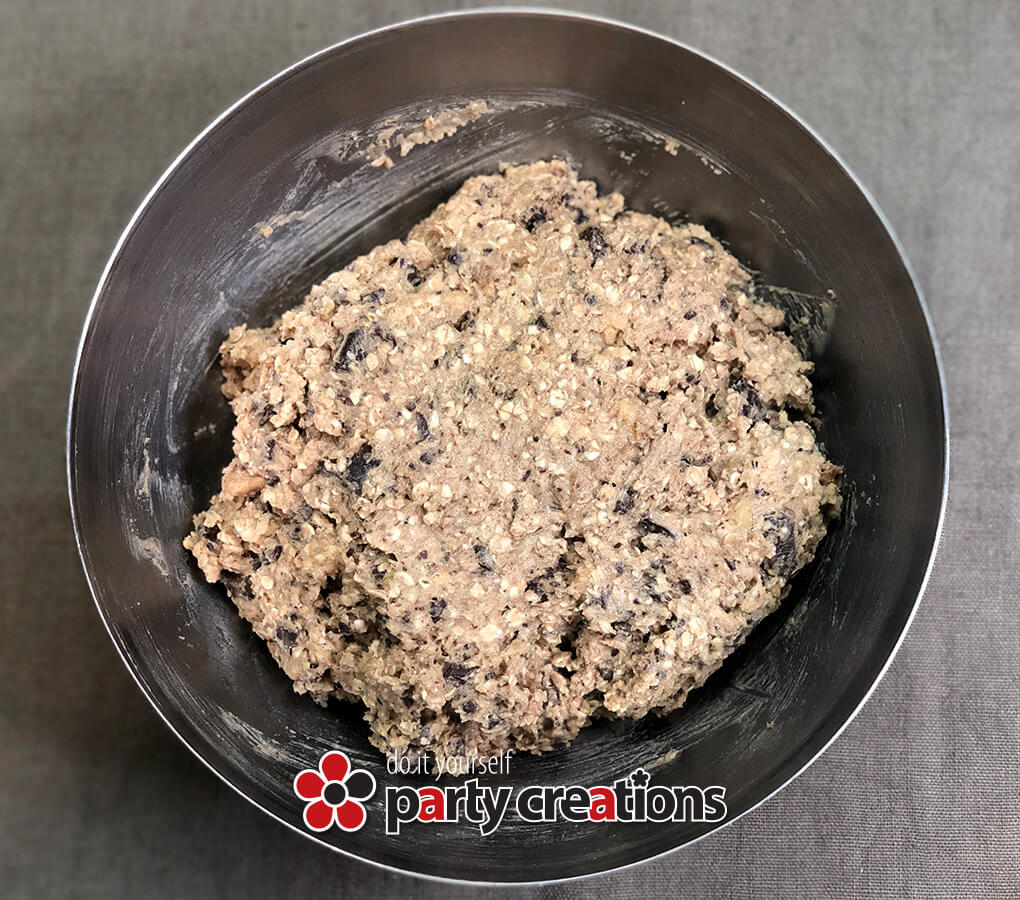
- Divide the dough into 12 equal pieces, each weighing around 65 grams.
- Refrigerate the dough balls for at least two hours in an airtight container. They last for up to two days in the refrigerator.
- Preheat the oven to 180ºC (356ºF).
- Arrange the dough balls on your baking trays on nonstick baking sheets, spacing them out by approximately 5 cm. You can give them a little squeeze, if they are not too tough.
- For soft cookies, bake for 11 minutes, depending on your oven. If you want your cookies to be a bit crunchy, bake them a little bit longer until the edges start to turn golden brown .
- Take them out of the oven and set them aside to cool entirely, which should take approximately 10 minutes. As they cool, they get harder.
- Store in an airtight container for a week or in freezer-safe airtight food bags for six months.
¹ Quick oats are not recommended because they tend to absorb liquids very quickly and you may end up with dry cookies. Additionally, the cookies won’t have as much texture.
² I prefer to break up high-quality couverture chocolate bars into little pieces rather than using chocolate chips. Gives me the option of larger chocolate chips and a more chocolatey flavor.
Source:
https://nationaltoday.com/national-oatmeal-cookie-day/
If you liked this recipe, please share.
You can also follow me on
![]()
![]()
![]()
![]()


 6. Bake at 180°C, for 10-15 minutes, depending on the size, or until slightly browned.


